Download the Original Photo Mechanic 1.0
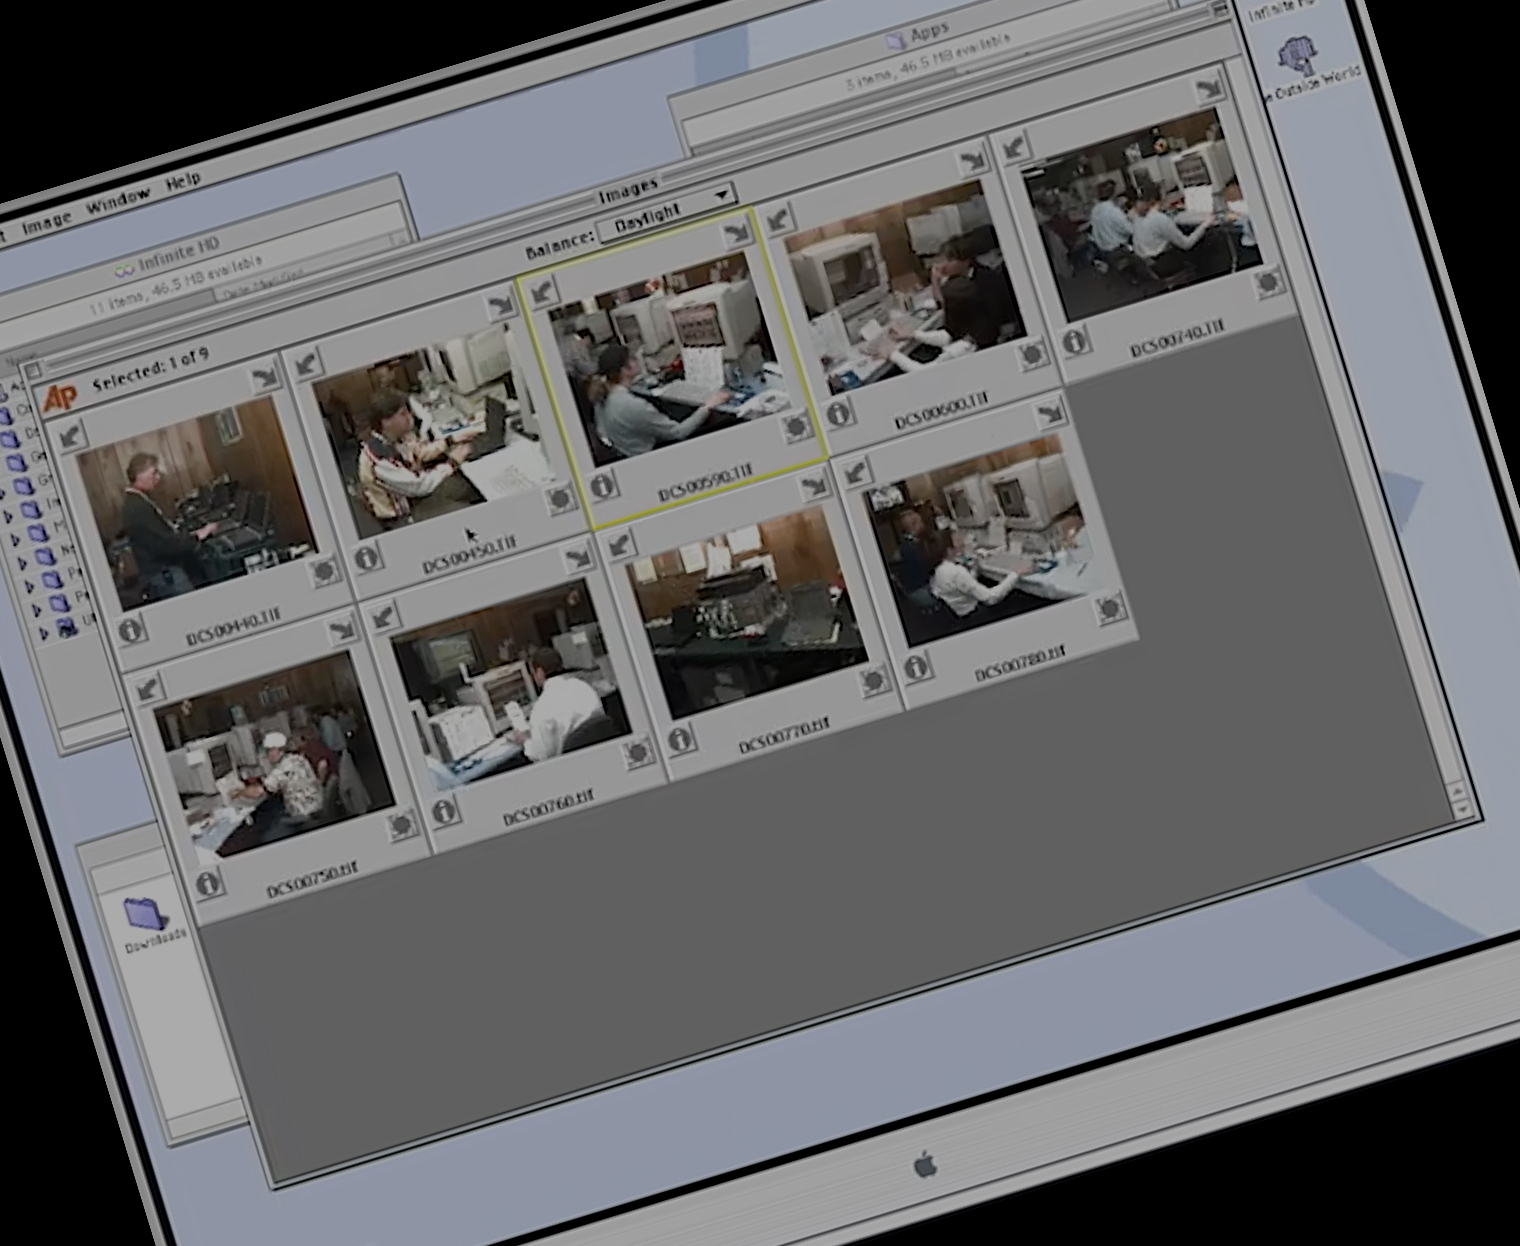
Can you believe that Photo Mechanic turns 25 this year? If you missed it, check out this first-person account of the birth of Photo Mechanic in 1998 written by Dennis Walker, the founder of Camera Bits. To follow up on that, we’ve sifted through the basement archives and found the original installer for Photo Mechanic version 1 (!!!). Here’s a video of PM1 in action narrated by our longtime technical support mastermind and wizard, Bob R. See what it looked like for editors at the Associated Press at the Super Bowl 25 years ago! Take your own trip down memory lane…
Are you the type who wants to see it for yourself, and have the technical wherewithal to navigate the nuances of vintage OS emulation (Or, you have Mac OS9 installed somewhere?) If so, check out the installer for the original Photo Mechanic, along with some original photo files from a Kodak 1998 digital camera. (Ed. note – PMv1 was initially called “AP Viewer”)
Download APViewerInstaller.sit.hqx (Requires Mac OS 9 or emulation – see below)
Download DCS TIFF files ©1998 Dennis Walker
Note that we cannot offer our usual personal technical support, but here are some tips for running this PMv1 on a popular emulator:
- Download SIT file and sample photos from above. (Note: You must ‘unzip’ the included photo folder before moving on to the next steps.)
- Open a web browser and navigate to https://macos9.app/
- Locate the SIT file and unzipped sample photos you downloaded, then click once to drag & drop anywhere onto the MacOS9 interface. The page will briefly darken as you drop the file but no other confirmation will appear.
- On the MacOS9 ‘Desktop’, find the item “The Outside World” (Note: You may have to close some of the Sticky Notes to see it) and open it.
- Open the “Downloads” folder, and you’ll find your ’AP Viewer Installer.SIT” file. Drag it to the ‘desktop’ and then double-click to unzip. Be patient during this step, it may take a minute or two. Once you see the unzipped AP Viewer Installer’ icon appear on the desktop double-click to launch.
- Follow prompts to install. (Buttons to press, in order: “Continue”, “Continue”, “Install”, “Quit”)
- After you select ‘Quit’, you’ll see the ’AP Viewer ƒ” folder is open in the upper-left portion of the window. Double-click the “AP Viewer” icon to launch and select the option to run as ‘Demo’.
- On the next dialog that appears, select “viewing raw DCS photos” and click “OK”. Then, once again find “The Outside World” folder > “Downloads”> then select the sample photos folder to open.
Happy (PMv1) Browsing!